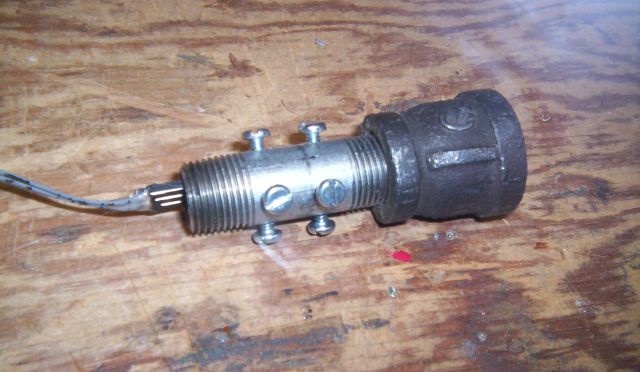
Wiring and Mounting a 650nm Laser Diode
For use with laser modulator and shotgun.
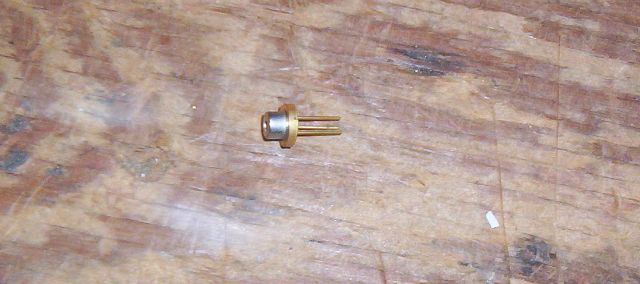
While using a cheap laser pointer with the laser modulator and shotgun mount has some advantages - pointers are cheap and available - laser pointers (the cheap ones anyway) seem to suffer from a fairly serious disadvantage, namely that of very limited lifespan. A typical pointer is good for about 24 hours of operating time. Standard class IIIa 650nm visible (red) laser diodes, by contrast, are typically rated for almost 10,000 hours MTBF. This page shows how to mount and wire a standard diode. The diode shown is the 5.6mm diameter Lumex OED-LDP65001E, (available from Digi-Key as part # 67-1500-ND). The housing kit is a U.S. Lasers Inc. # HK10.4 (Digi-Key # 38-1000-ND).
The laser diode.
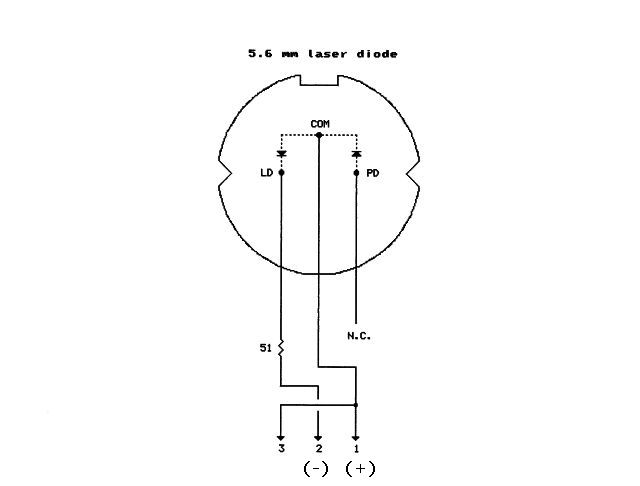
The laser wiring diagram.
The diode assembly includes the laser diode (LD) and a photodiode (PD) normally used to drive a regulator circuit. The photodiode is not used in this application and is not connected.
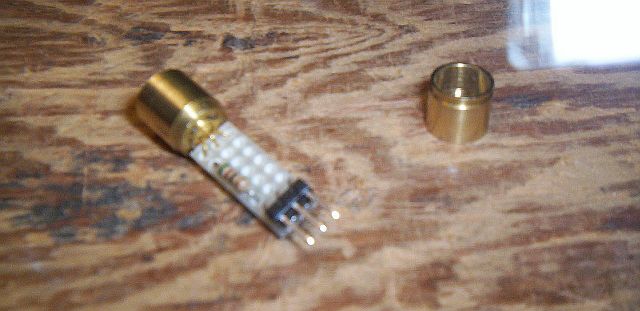
The diode installed in the module with the leads attached.
The diode is tacked in place in the barrel of the housing module with quick-set epoxy. The 3-pin output connector is glued to a piece of .3" x .9" perf board (holes on .1" centers). The soldered connections to the output connector and 51-ohm current limiting resistor are made below the board.
The module viewed from the lens end.
The laser is connected to and powered from the laser modulator, the module pointed at a white piece of paper about 20' (6m) away, and the lens adjusted carefully with a screwdriver for a collimated spot on the paper about the same size as the lens.
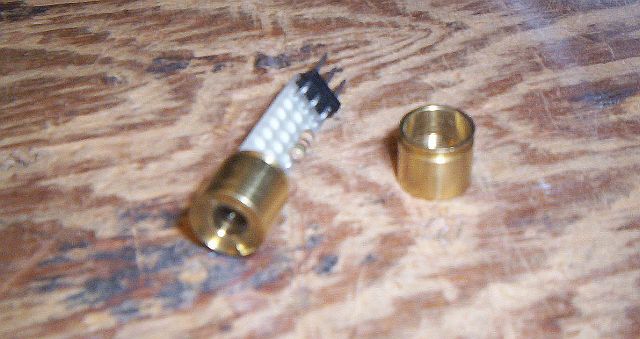
The assembled module.
The board is stabilized in the barrel with hot glue.
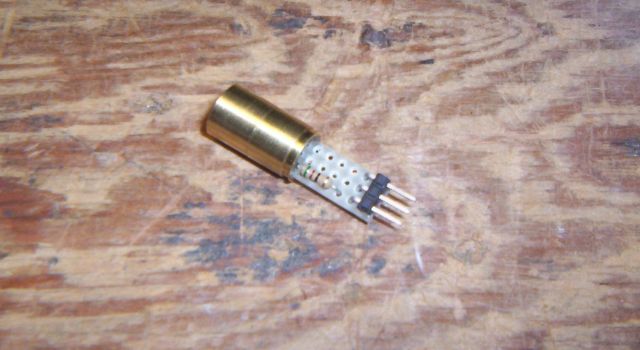
The module mounted in the laser shotgun's "firing chamber".
